
Monday, 9 September 2013
Altered Art.
Well, I paid a visit to a friend who taught me a bit about altered art. We took a small wooden box and made it look pretty. Not just plain pretty but different pretty. My idea was to decorate some wooden boxes and then put a piece of jewellery in them to give as presents for Christmas. This is the result of my crafting.


Tuesday, 30 October 2012
Just for adding links to prizes.

Tuesday, 21 August 2012
Shamballa Tutorial
Hi,
Ive been making Shamballas for a while now and have been asked how to make them. I learnt by Googling Shamballas and printing the instructions off. Here is my version of how to make a Shamballa.
 First you need 3 lengths of cord (waxed is best for starting out with). 120cm, 50cm and 40cm. The longest piece (120cm) is called your knotting cord, the medium piece (50cm) is your lazy cord and the short piece (40cm) is for the Slider. Thread your beads onto the Lazy Cord. I put one of the dangles on first then the beads I'm going to use for the bracelet then another one for the dangle. Tie a knot in both ends to stop the beads falling off.
In this picture I'm using Miracle Beads. Red ones in 10mm and 8mm with Black waxed cord.
As you can see, I have a board to clip my Lazy Cord to. I have moved the dangle bead to the end of the cord, allowed for the length of the dangle and cross over section where the slider goes and will clip this in place. Put your other dangle bead behind the board and clip at the bottom too.


Now to seal the loose ends. Open the Slider a little bit. In the picture the Slider is at the top...add some glue around the tails (and the slider if you want but be careful as the slider needs to be able to slide and it wont if you glue the cords inside it to it). On the tails beside the bead in the picture you don't need to be as careful because there is no sliding here. Next I leave the Shamballa to dry and will trim the ends off carefully when its all dry.
 This is a few I have hanging out to dry. When I am making a Shamballa with Disco Balls I will use 7 Disco Balls and 4 Hematite beads. I usually work with 10mm and 8mm for the dangles. The Miracle Beads are mostly the 8mm I work with but I got some 12mm to add a bit of a difference. Depending on the size of your beads you will use more or less beads. If you use 3 beads only at the front of the bracelet you will need to do a lot of knots so your Knotting cord needs to be longer.
I hope this is helpful to anyone who is interested. If you are stuck....just shout me. I'm usually around somewhere. :O)
Ive been making Shamballas for a while now and have been asked how to make them. I learnt by Googling Shamballas and printing the instructions off. Here is my version of how to make a Shamballa.

In this picture I'm using Miracle Beads. Red ones in 10mm and 8mm with Black waxed cord.


Now for the fun part. Take your Knotting cord and tie it near the top of the board. You must make sure the knot is as close to the middle of the 120cm.

Now for your first knot. This is done by taking the left cord over the top of the Lazy cord leaving a loop, then you take the right cord over the left cord tail, under the Lazy cord, up through the loop and pull. This is Knot 1 as I call it.

Knot 2, as I call it, is take the right cord, loop it taking the tail over the top of the Lazy cord. Next take the right cord and go over the tail that you have on the left, under the Lazy cord and up through the loop and pull.

There, now do that for 8 knots.....then push up your first bead and do Knot 1 again.


Next do Knot 2, Knot 1 and Knot 2.....push up the next bead and do 4 knots again. Once you have pushed up your last bead do 8 knots.


There.....simple. The main part of the Shamballa is done. Now for the slider. You need to take the left dangle and meet it with the opposite end of the Shamballa so that the dangles cross over. I clip this to the corner of my board and secure the other end too.


Now for the Slider. Take the short piece of cord (40cm) and tie it around the two dangles......then just do your knots 1 and 2 till you have 14 knots.

Now I close the Shamballa and cut the tails down as they get in the way....I will also shorten the dangle. Make sure you move your bead down the dangle cord before you knot it and cut it.


Now I'm going to seal the ends....I'm sticking the end of the dangle, with the knot into the adhesive. I like to make sure the bead is glued to the knot so that it doesn't move up and down the cord.


I hope this is helpful to anyone who is interested. If you are stuck....just shout me. I'm usually around somewhere. :O)
Friday, 20 July 2012
My Birthday (42nd)


Tuesday, 17 July 2012
Crafting Prize from Nikki


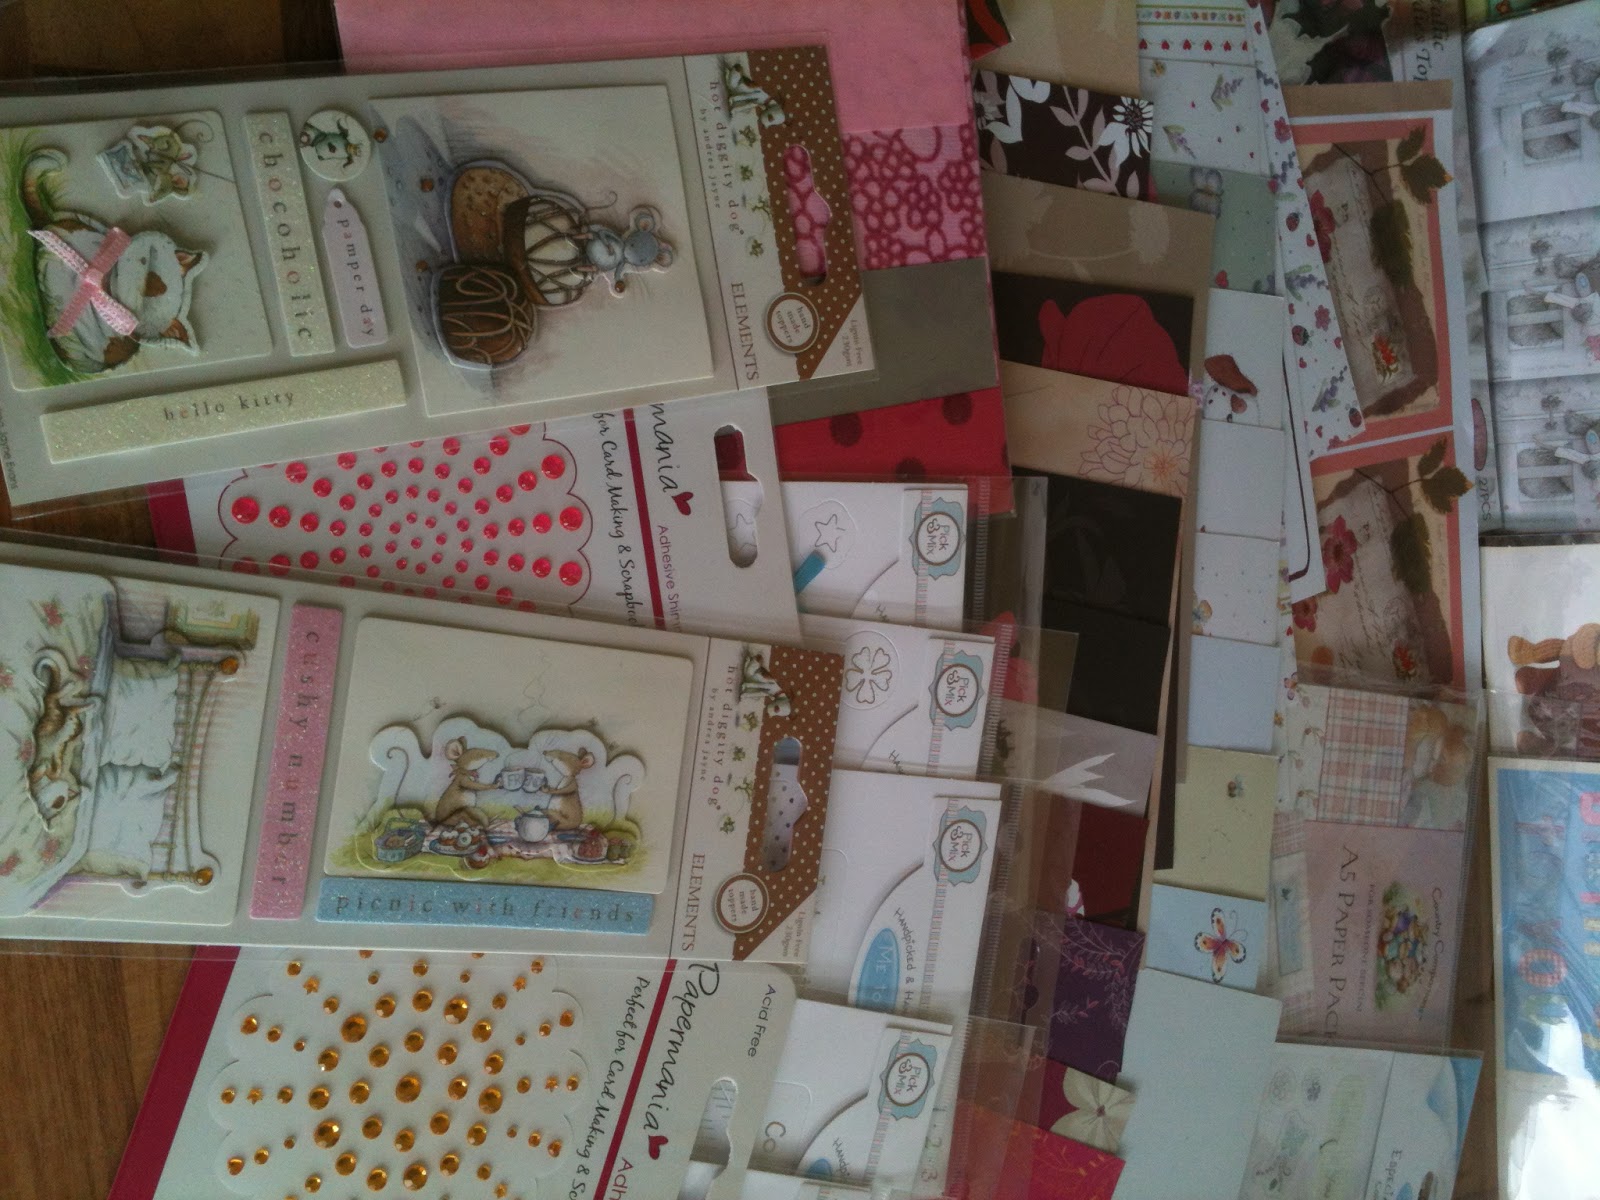 ,
, Sunday, 1 July 2012
Just something I made.


Elegant Ladies


Subscribe to:
Posts (Atom)